
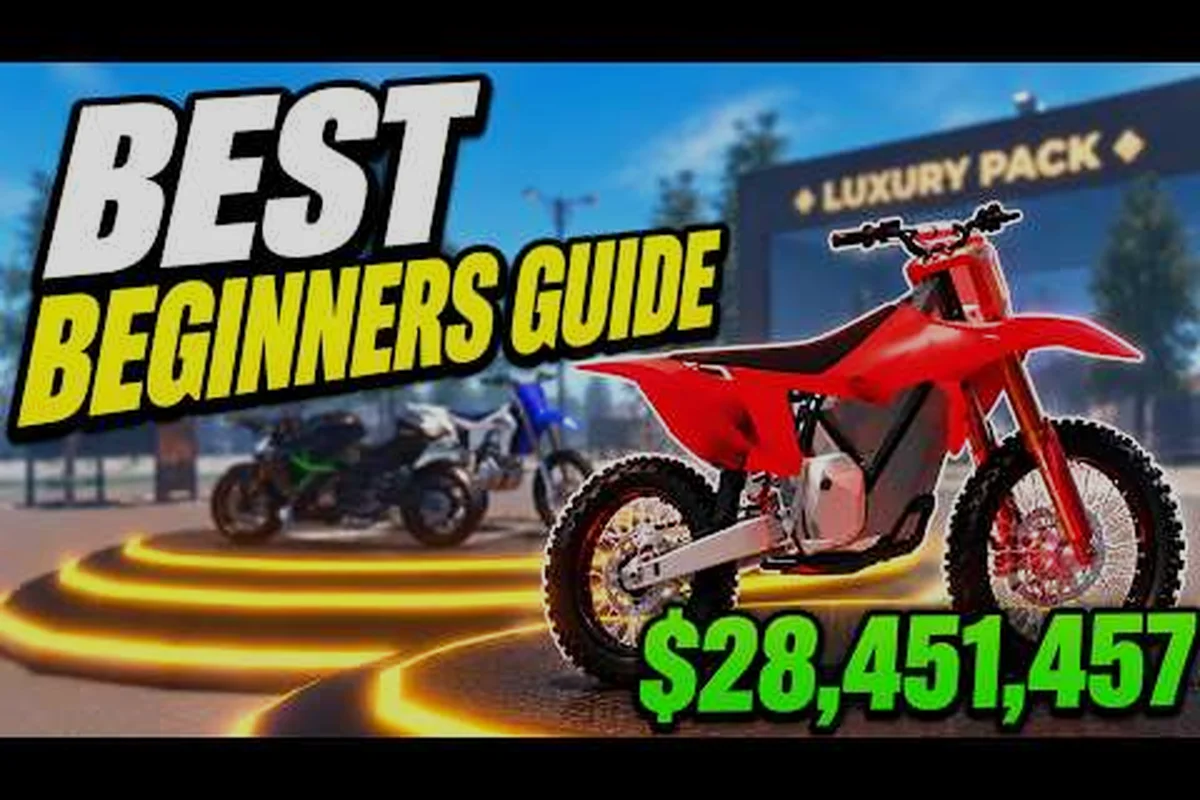
Your Bike Universe bike seat is more than a place to sit — it is the visual anchor for every cosmetic build you create, and pairing it with the right handlebars, lights, and engine sound turns a stock bike into a signature ride. The customization system in Bike Universe is built around swapping parts, and according to the Bike Universe official Roblox game page, cosmetic slots like seats, handlebars, and lights are part of the same tuning flow that riders use to chase cash, wheelies, and tricks across the open-world map.
This guide walks through what each cosmetic slot does, how they interact, and the practical choices that experienced riders make when they want a bike that stands out in a crowd. You will get a full bike seat breakdown, handlebar comparisons, neon light layering, and engine sound theory so every upgrade you make feels intentional rather than random.
Understanding the Bike Universe Bike Seat Slot
What the Bike Seat Actually Controls
The seat in Bike Universe is the cosmetic foundation of the bike's silhouette. It sits at the center of the rider's posture and frames the rest of the build, which is why most players start their customization journey with the bike seat and work outward toward the handlebars, wheels, and lights. According to community testing referenced in beginner walkthroughs like the Radex Tips Bike Universe beginner guide, the seat slot does not change performance numbers, but it changes the visual identity so much that riders often describe a build by its seat first.
The seat also influences the camera angle slightly in some setups, which means choosing a low-profile cruiser seat versus a tall sport seat changes how the rest of the bike reads on screen. Players who film clips or post screenshots gravitate toward the sport-style seats because they expose the handlebar layout and the front lights, while players who prefer a clean, minimal look lean toward the cruiser profile.
Seat Style Categories
| Seat Style | Visual Profile | Best Pairing | Rider Impression |
|---|---|---|---|
| Cruiser Saddle | Low, wide, laid-back | Chopper handlebars, warm neon lights | Relaxed, scenic cruising |
| Sport Bucket | Tall, narrow, aggressive | Riser handlebars, cool neon lights | Stunt, speed, competition |
| BMX Padded | Compact, flat, centered | BMX handlebars, multicolor lights | Trick focused, urban |
| Vintage Leather | Boxy, stitched, retro | Swept handlebars, dim warm lights | Classic, collector style |
The four style categories above are based on visual families that players describe in community guides, with the official customization list itself not published as a numbered catalog. Players learn seat families by seeing them in lobbies and trade hubs, then match the rest of their bike around the look they want.
How the Seat Slot Interacts With Other Parts
| Paired Slot | Effect of Seat Choice | Practical Impact |
|---|---|---|
| Handlebars | Frame height and rider posture | Determines whether bars sit above or below shoulders |
| Bike Lights | Visibility of the rear of the bike | Affects night-ride silhouette and clip framing |
| Neon Lights | Color reflection on the seat surface | Matte seats mute color, glossy seats amplify it |
| Bike Sound | None directly, but pairs thematically | A vintage seat with a futuristic sound clashes |
When you plan a build, start with the seat and then choose every other part to either contrast with it or reinforce it. Riders who build around contrast often pair a sport bucket seat with swept chopper handlebars for an aggressive-meets-classic look, while riders who build around cohesion keep every part in the same family, like a vintage leather seat with warm neon lights and a low rumble engine sound.
Bike Universe Bike Handlebars and How They Frame the Seat
Handlebar Families Riders Use Most
The bike handlebars in Bike Universe come in several distinct shapes, and each one changes the way the seat reads on screen. Riser handlebars lift the bars high above the seat and create a tall, dominant profile, while flat handlebars sit level with the seat and create a clean, technical look. Swept bars curve back toward the rider and pair naturally with cruiser seats, while BMX bars stay compact and central.
According to the NoobBlox's Bike Universe video, community tier discussions often sort handlebars into "tall," "wide," "swept," and "compact" families because that is how riders talk about them in trade chats and Discord screenshots. The shape you pick should match the kind of riding you actually do, since tall bars feel right with trick builds and swept bars feel right with long cruising sessions.
Handlebar Comparison Table
| Handlebar Style | Visual Feel | Pairs With Seat | Light Mount Feel | Rider Use Case |
|---|---|---|---|---|
| Riser | Tall, dominant | Sport bucket | Front lights sit high and obvious | Speed runs, stunts |
| Flat | Clean, technical | BMX padded | Lights align with bar level | Trick chaining, urban |
| Swept | Relaxed, classic | Cruiser saddle | Lights sit at the rider's hands | Long scenic rides |
| Chopper | Wide, low | Cruiser saddle | Lights stretch outward | Show builds, clip filming |
Why the Seat-to-Handlebar Ratio Matters
A common mistake new riders make is choosing parts in isolation rather than as a set. A tall riser bar with a low cruiser seat makes the rider look stretched out and visually unbalanced, while a flat bar with a tall sport bucket seat compresses the front of the bike and hides the front lights. The most photogenic builds keep the seat and handlebars in the same vertical register — both high, both low, or both centered — so the camera reads the bike as one continuous shape.
This is also why the bike universe customization guide recommends choosing the seat first, then the handlebars, then everything else. When the two anchor parts of the bike agree on the silhouette, every other cosmetic slot becomes easier to dial in because you already know whether your build reads as aggressive, classic, or trick-focused.
Bike Universe Bike Lights and Neon Lights Layering
Standard Lights Versus Neon Lights
Bike Universe treats lighting as two separate visual layers: the standard bike lights that act as functional headlights and brake lights, and the neon lights that are pure cosmetic glow. Standard lights are tied to the bike's frame and turn on or off automatically based on time of day, while neon lights are decorative strips that the rider activates manually and that show up strongly at night and dimly during the day.
The distinction matters because the bike lights slot is about visibility and realism, while the neon lights slot is about personal style. Riders who want a clean, grounded look invest in the standard bike lights and leave neon off, while riders who want a signature glow run neon lights at full intensity and pick a single accent color that matches their seat material.
Light Slot Behavior Table
| Light Type | When Visible | Best Use | Pairing Tip |
|---|---|---|---|
| Standard Headlight | Always on, brighter at night | Functional realism | Match color temperature with neon hue |
| Standard Brake Light | Triggers on stop/wheelie | Trick clips, rear framing | Choose warm red for classic builds |
| Neon Underglow | Manual, strong at night | Show lobbies, group rides | One color, full intensity, no flicker |
| Neon Handlebar Glow | Manual, visible day and night | Signature rider identity | Match seat stitching color |
Color Theory for Seat and Light Pairing
The seat material you choose affects how light bounces off the bike. Glossy seats amplify neon glow and create a soft halo on the leather, while matte seats absorb light and make neon read as a sharper line. Riders who want a moody, night-ride aesthetic usually go with matte black seats and a single neon color so the glow stands out without competing with reflections. Riders who want a daytime showcase look go with glossy colored seats and turn the neon off during the day so the seat color itself carries the visual identity.
A good starting point is to pick one accent color and let it appear in three places: the neon strip, the seat stitching or trim, and the small accent on the handlebar grip. When those three points match, the bike reads as designed rather than assembled, and that is the difference between a stock bike and a build.
Bike Universe Bike Sound and How It Completes the Build
Sound as the Fourth Customization Layer
The bike sound in Bike Universe is the cosmetic layer that most new riders forget, because the customization menus usually surface it after the visual parts. Sound does not change how the bike handles, but it changes how the bike feels, especially during long rides where the engine note becomes part of the experience. Riders who film clips know that a strong, clean engine sound carries better in a video than a quiet, buzzy one, which is why sound is often the last 10 percent that makes a build feel finished.
The sound catalog is loosely organized by bike family, with Dirt bikes producing rougher, higher-RPM notes, Electric bikes producing smooth, low-frequency hums, and Pedal bikes producing almost no engine sound at all. Riders who want a quiet, stealth aesthetic stay on Pedal builds, while riders who want presence run Electric and pick a deeper hum, or run Dirt and pick the cleanest note available.
Sound Profile Comparison Table
| Sound Family | Tone | Pairing Build | Best For |
|---|---|---|---|
| Dirt High-RPM | Buzzing, throaty | BMX seat, flat bars, bright neon | Trick runs, urban clips |
| Electric Deep Hum | Smooth, bass-heavy | Sport bucket, riser bars, blue neon | Night cruising, group rides |
| Electric High Whine | Sharp, futuristic | Cruiser saddle, swept bars, purple neon | Show lobbies, content creation |
| Pedal Quiet | Near-silent | Vintage leather, chopper bars, dim warm lights | Scenic rides, roleplay servers |
Matching Sound to Visual Identity
The biggest mistake with sound is choosing a futuristic electric whine to pair with a vintage leather seat, because the audio and visual signals point in opposite directions. A more cohesive approach is to match the engine family with the bike's material feel: leather seats with deep electric hums, glossy sport seats with sharp electric whines, and matte BMX seats with rough dirt notes.
This is also where the broader bike families matter. Riders working through a bike universe complete guide often upgrade parts in the wrong order, putting sound on a stock bike before they have a visual theme. Once the seat, handlebars, and lights are locked in, the right sound becomes obvious because it is the one that does not fight the silhouette.
Putting It All Together: A Practical Bike Universe Customization Build Order
Step-by-Step Build Flow
A reliable build order keeps new riders from buying cosmetic parts that contradict each other. The flow below is the order that experienced players in the community describe, and it works for every bike family from Dirt to Electric to Pedal.
-
Pick the seat first. Decide whether you want cruiser, sport, BMX, or vintage leather. This sets the silhouette and the camera angle.
-
Match the handlebars to the seat height. Riser for sport, swept for cruiser, flat for BMX, chopper for vintage. Do not mix high with low.
-
Choose standard bike lights by color temperature. Warm for classic builds, cool for sport builds, neutral for BMX.
-
Layer neon lights as a single accent color. Pick one color and repeat it in seat trim, handlebar glow, and underglow.
-
Set the engine sound last. Match the sound family to the seat material so the audio and visual read together.
-
Test the build at night and during the day. Some neon choices look strong at night and washed out during the day, and the reverse is true for matte versus glossy seats.
Quick Build Reference Table
| Rider Goal | Seat | Handlebars | Light Style | Neon | Sound |
|---|---|---|---|---|---|
| Trick clip | BMX padded | Flat | Neutral, bright | Single accent | Dirt high-RPM |
| Night cruise | Sport bucket | Riser | Cool, sharp | Blue, full intensity | Electric deep hum |
| Vintage showcase | Vintage leather | Chopper | Warm, dim | Warm, low intensity | Electric high whine |
| Group show | Cruiser saddle | Swept | Warm, mid | Purple, full intensity | Electric high whine |
| Scenic pedal | Vintage leather | Swept | Off | Off | Pedal quiet |
Budget and Trading Notes
Cosmetic parts in Bike Universe are earned primarily through riding cash, wheelie bonuses, and trick chains, and riders often trade duplicates in lobby hubs. According to community guides on Reddit such as the r/Roonby Bike Universe money guide, early-game riders should focus on one bike family and save for the seat and handlebars first, because those two slots carry the most visual weight. Neon lights and engine sound can be added later without reworking the whole build, while changing the seat or handlebars later often means rebuilding the entire visual identity.
Players who play across multiple platforms can also check the bike universe console guide for input-specific notes on how the customization menu behaves on console, tablet, and mobile, since the camera framing around the seat is slightly different depending on the device and the control scheme.
Final Notes on Building a Signature Bike
A signature Bike Universe build is not about owning every cosmetic part in the catalog. It is about making a small number of choices that consistently point in the same direction, so the seat, handlebars, lights, neon lights, and engine sound all tell the same story. The riders who get noticed in lobbies are the ones who picked a clear visual theme — classic, sport, trick, or show — and then committed to it across every slot. Start with the bike seat, lock in the handlebars, layer the lights, and finish with the right sound, and the bike will read as designed rather than assembled.
Frequently Asked Questions
What is the best bike seat for a beginner in Bike Universe?
The Cruiser Saddle is the safest starting seat because it pairs cleanly with both Chopper and Swept handlebars, which are the most common shapes new players unlock first. It also reads well at night with warm neon lights, so a beginner can build a coherent look without trading for rare parts.
Do bike handlebars affect performance in Bike Universe?
No, bike handlebars are a cosmetic slot and do not change speed, acceleration, or wheelie income. They change the silhouette and the way the camera frames the bike, which matters for content creation but does not change gameplay numbers.
How do neon lights differ from standard bike lights?
Neon lights are a manual cosmetic glow that you turn on and off yourself, while standard bike lights act as functional headlights and brake lights tied to the time of day. Neon lights are strongest at night and are used for style, while standard lights are always on and are used for visibility.
Can I change the engine sound without changing the bike family?
In most cases, bike sound options are tied to the Dirt, Electric, or Pedal family of the bike you are riding, so swapping to a different sound usually means switching bike families. Riders who want a quiet build stay on Pedal bikes, while riders who want presence run Electric or Dirt and pick the cleanest note available.
Where should I spend early-game cash on customization?
Community guides recommend spending early cash on the bike seat and handlebars first, because those two slots carry the most visual weight and are the hardest to change later without rebuilding the whole look. Neon lights and engine sound can be layered on afterward without reworking the bike.